 Hours Tracker
Create and Export a Timesheet in Hours Tracker
Save three shifts, check the weekly hours and export a PDF for the right job and dates. Includes the actual app controls and screenshots.
Create the record, then export the timesheet
In Hours Tracker, choose your job on Time Card and use Log Hours to save each shift. Review the entries in Time Sheets, then open Export, choose the job and date range, and tap Save PDF.
The free version supports one job and PDF exports. Pro adds unlimited jobs and Save XLSX for Excel spreadsheets. The steps below use the English iPhone interface.
Screenshots show existing sample records. Their dates and totals differ from the three-shift example below.
1. Choose the job the timesheet is for
- Open Time Card from the bottom tab bar.
- Check the name below CURRENT JOB. If you have more than one job, tap that name and select the workplace you want to report to.
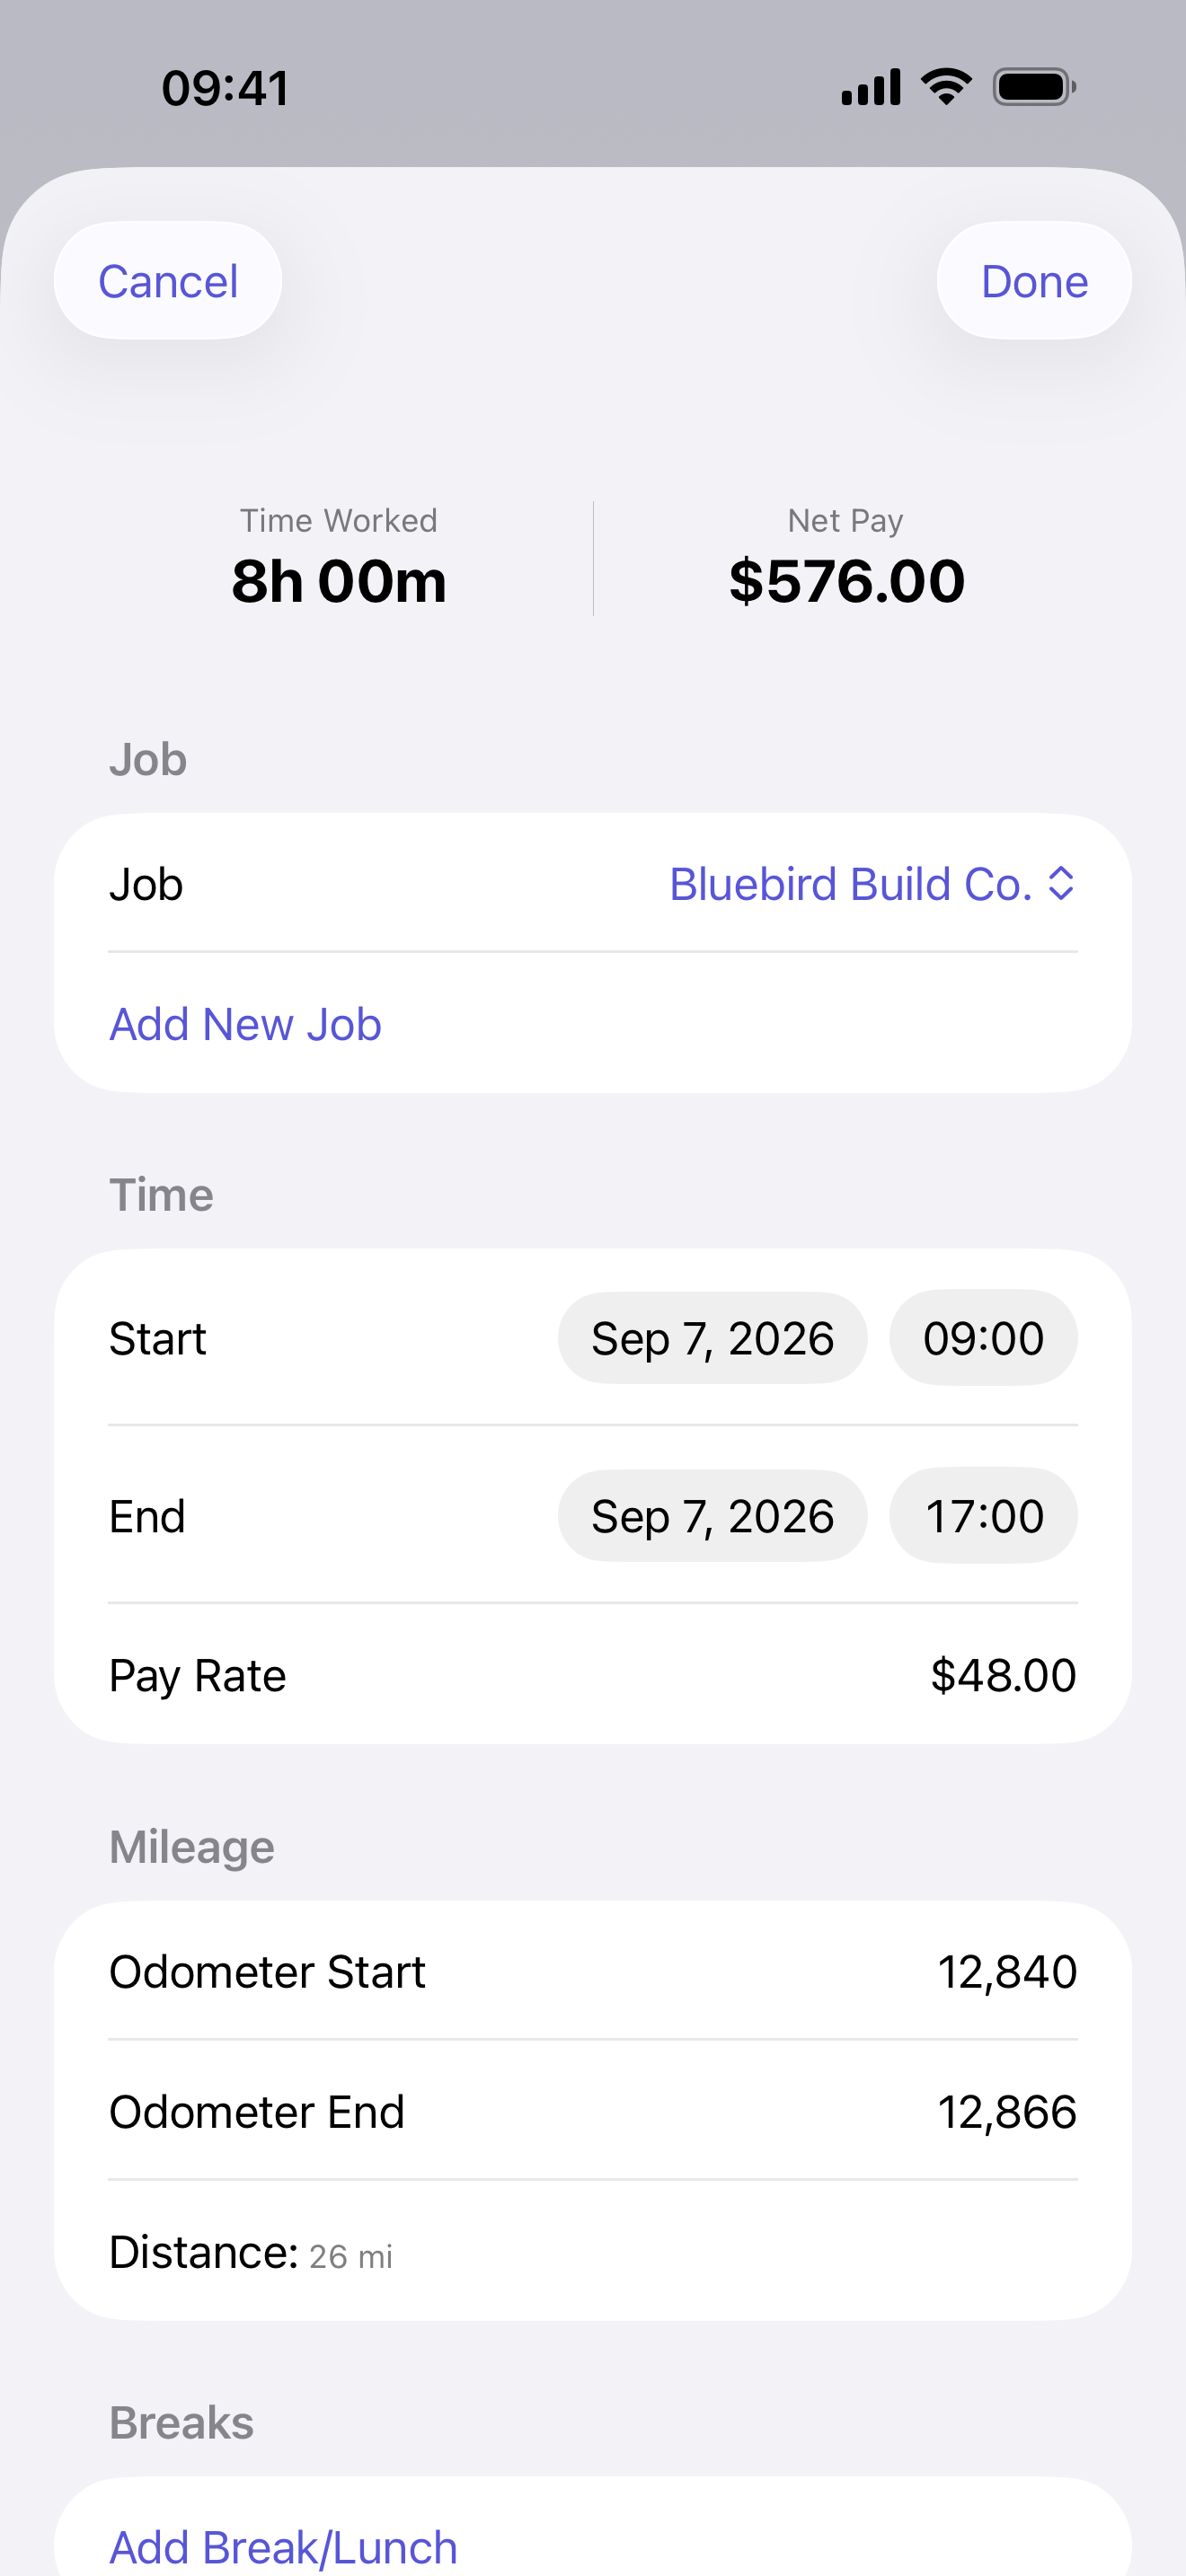
- Tap Log Hours to open a new entry for that job.
If this is your first job, create it in the Jobs tab using the add-job button at the top right. Enter Job Name and Hourly Rate, then tap Save. Return to Time Card to log the shift.
The job you select here supplies the new entry’s starting pay rate. If you change Job inside the entry form later, check its Pay Rate too.
2. Enter Monday’s shift and unpaid break
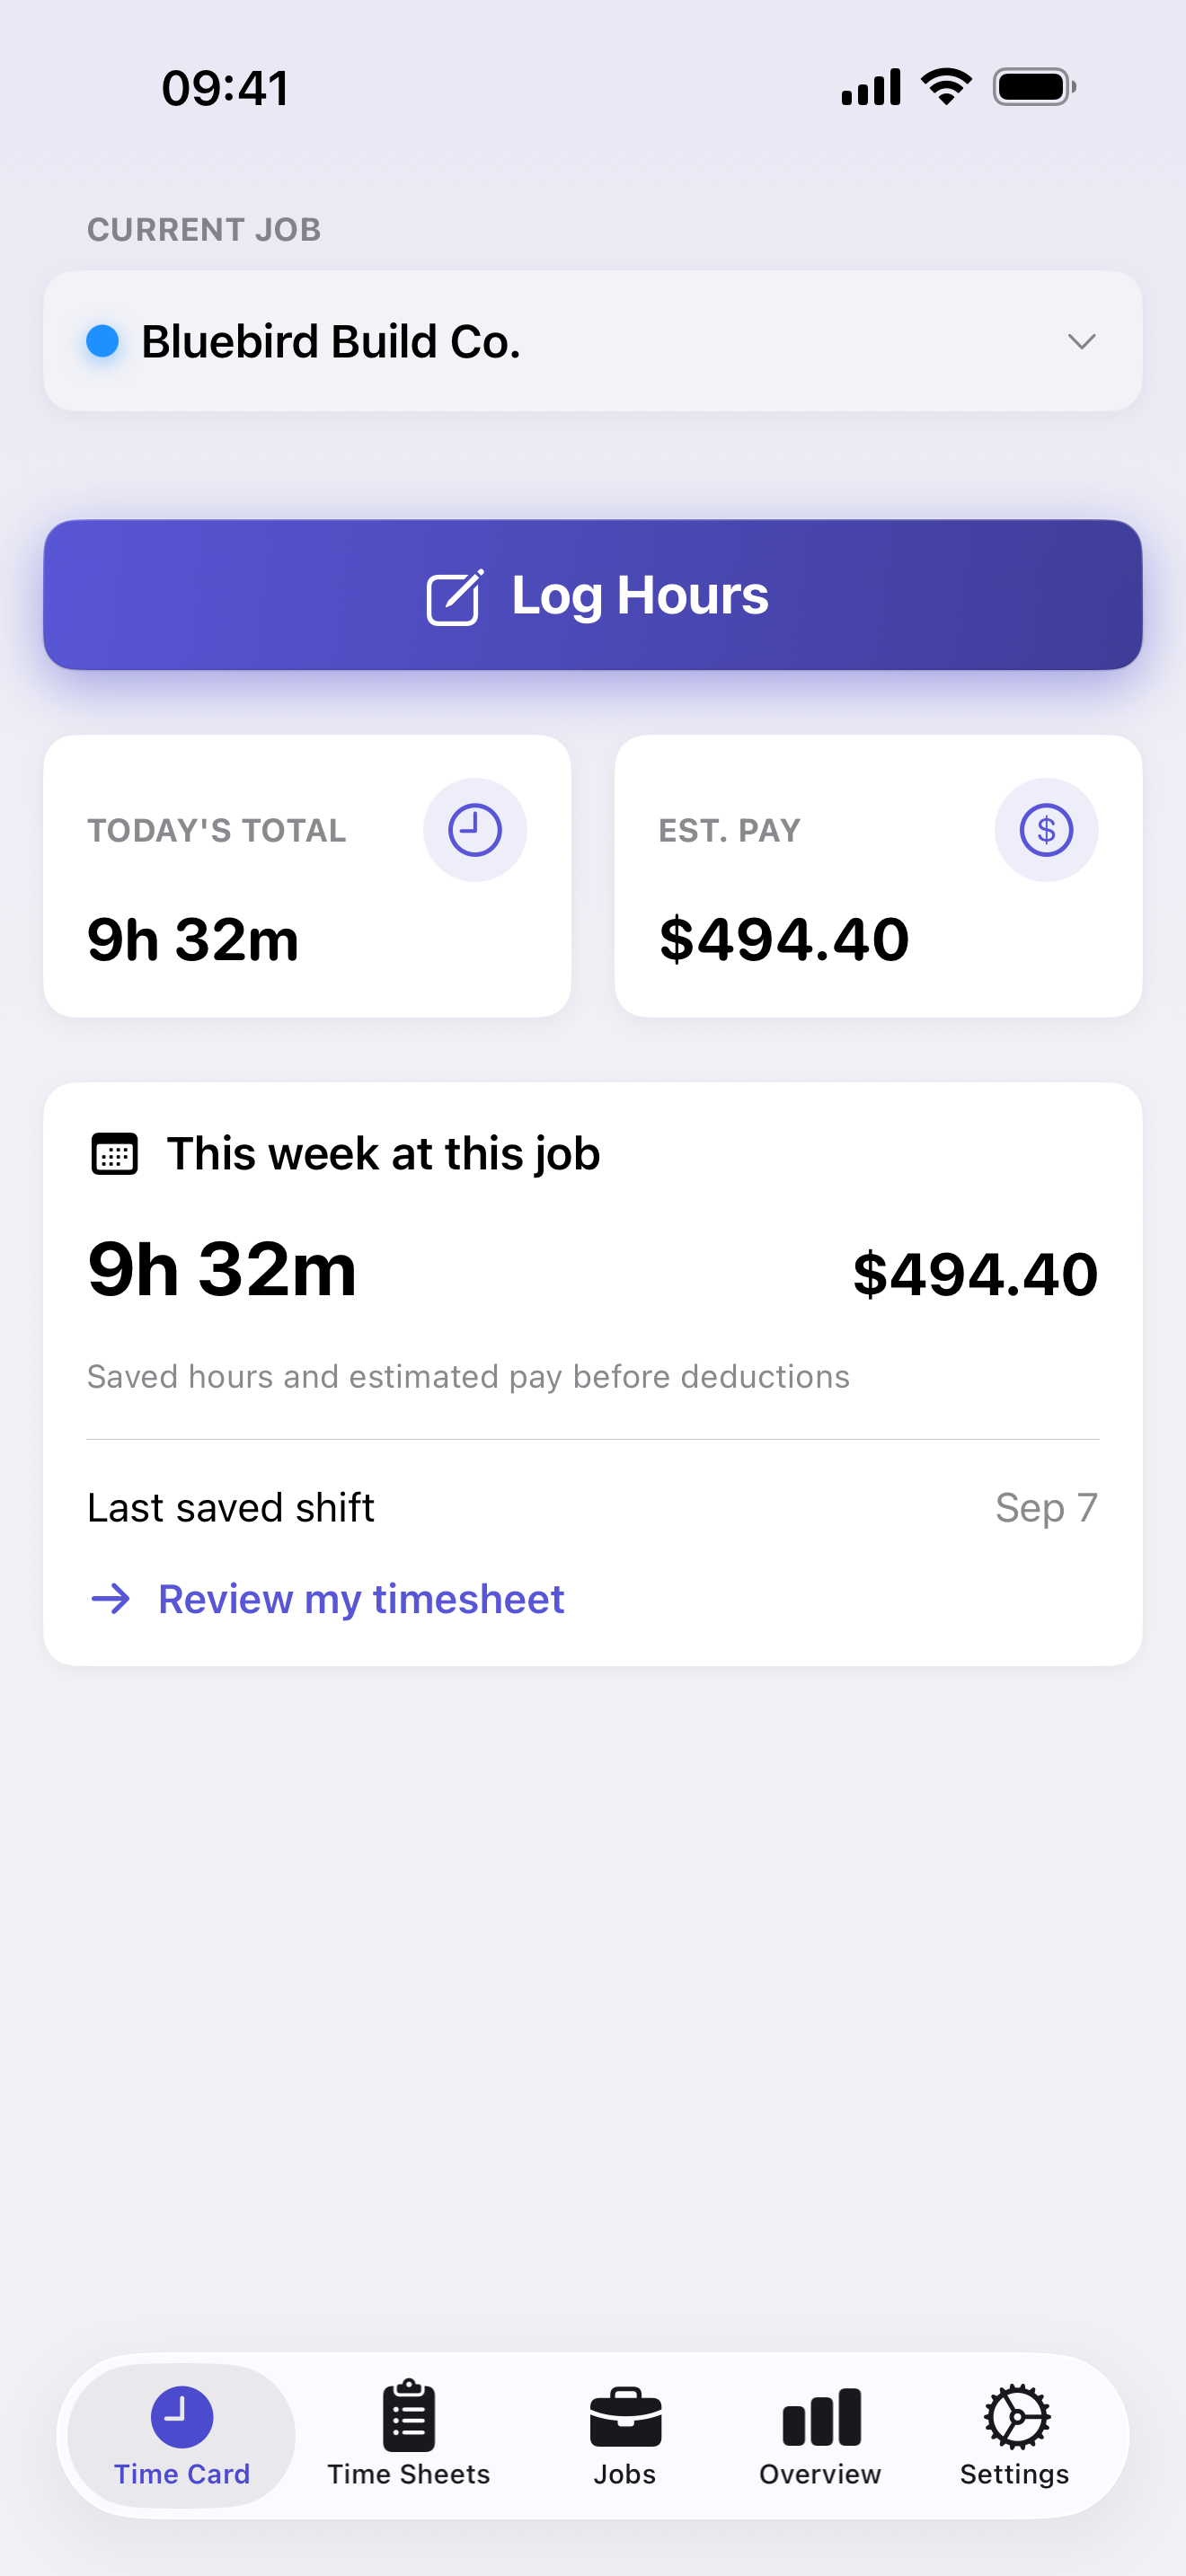
Start with a shift from 09:00 to 17:30, with an unpaid break from 12:00 to 12:30.
- In the entry form, check Job.
- Set Start to the Monday you worked and 09:00. Set End to that same date and 17:30.
- Check Pay Rate. It should match the rate you intend to use for this shift.
- Scroll to Breaks and tap Add Break/Lunch.
- Set the break’s Start to 12:00 and End to 12:30. Turn Paid off for this unpaid-break example, then tap Save.
- Check Time Worked at the top of the shift form. With no time rounding, this entry should show 8h 00m. Tap Done to save it.
Use the Paid setting that matches the actual break. A paid break stays in the work-time total; an unpaid break is subtracted. Do not shorten the End time as well as adding the same unpaid break.
Add the other two shifts
Use Log Hours again for Tuesday and Wednesday, under the same job. Use the dates you actually worked; the table uses a Monday–Wednesday example.
| Day | Start | End | Unpaid break | Work time |
|---|---|---|---|---|
| Monday | 09:00 | 17:30 | 12:00–12:30 | 8 h |
| Tuesday | 08:45 | 16:15 | 12:00–12:45 | 6 h 45 min |
| Wednesday | 10:00 | 18:00 | 13:00–13:30 | 7 h 30 min |
| Total for these three entries | 22 h 15 min | |||
Save each shift with Done. You should have three entries attached to the same job, totaling 22 hours 15 minutes before any rounding adjustments.
3. Review the saved shifts in Time Sheets
- Open the Time Sheets tab.
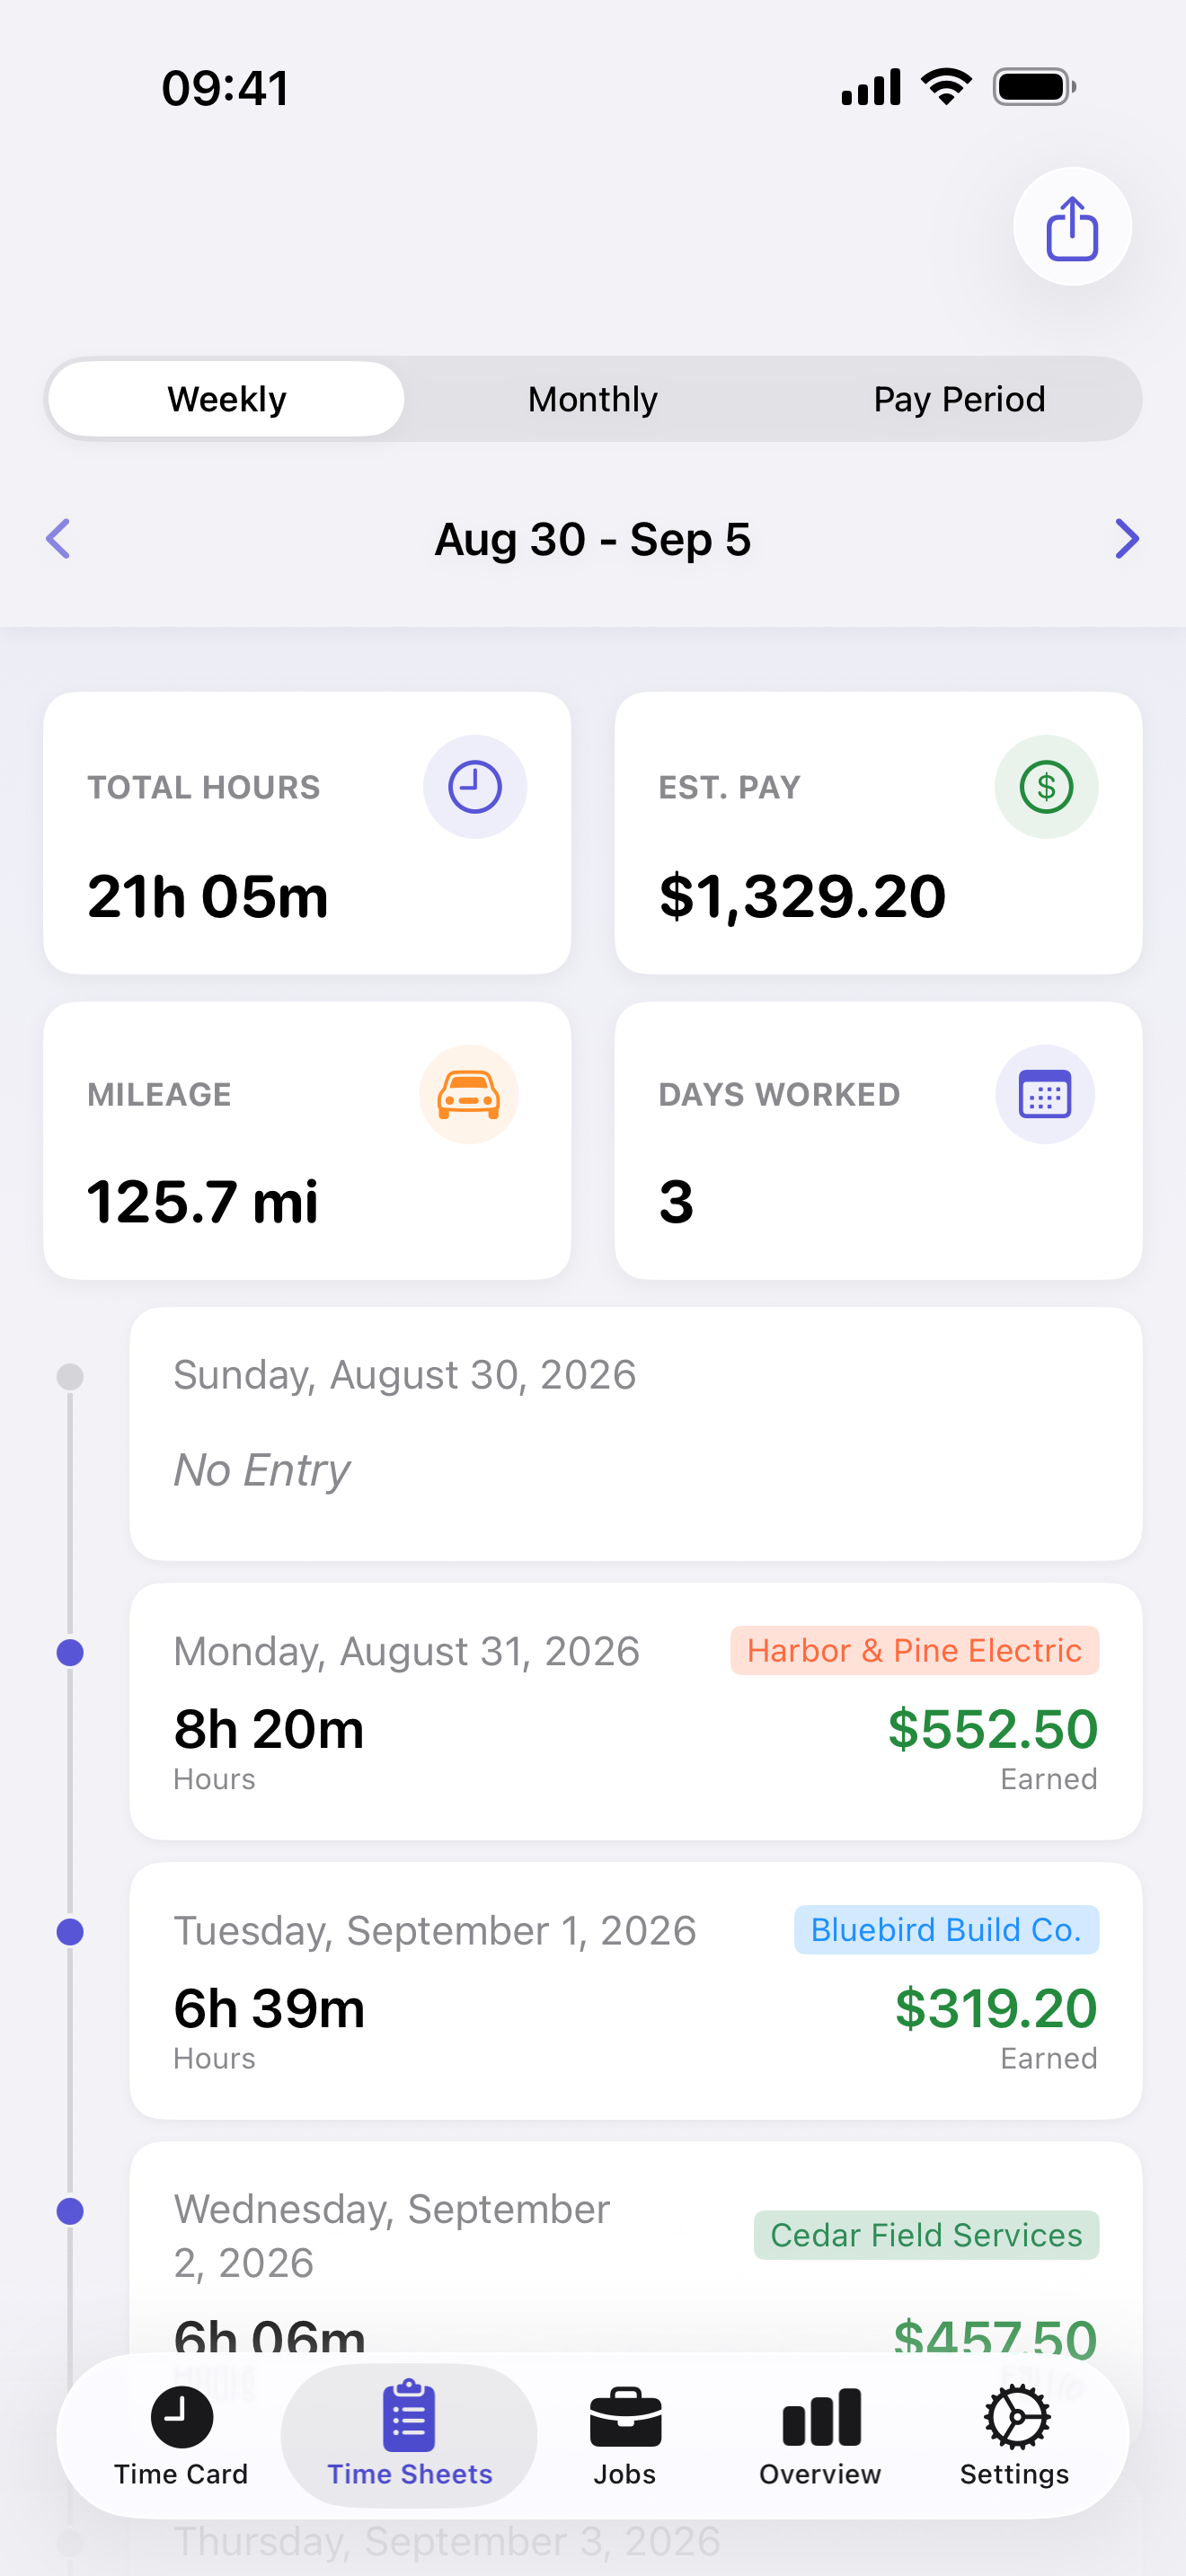
- Select Weekly and use the left or right arrow beside the date range to reach the week containing your entries. Monthly and Pay Period are also available.
- Find the three entries and check the job name on each row.
- Tap a row to check its Start, End and breaks. Correct anything that is wrong, then tap Done.
If these are the only entries in that period and time rounding is off, Total Hours should be 22h 15m. Existing entries add to that total.
Time Sheets includes all jobs in the displayed period. Switching the current job on Time Card does not filter this total. If you have multiple jobs, use the Job filter in Export to prepare the report for one workplace.
Hours differ from the example? Check both dates, the break’s Paid setting and any rounding rules you have configured. Estimated Pay also depends on your rates and pay settings; it is not a take-home-pay figure.
4. Save the right job and dates as a PDF
- In Time Sheets, tap the export icon at the top right—the square with an upward arrow.
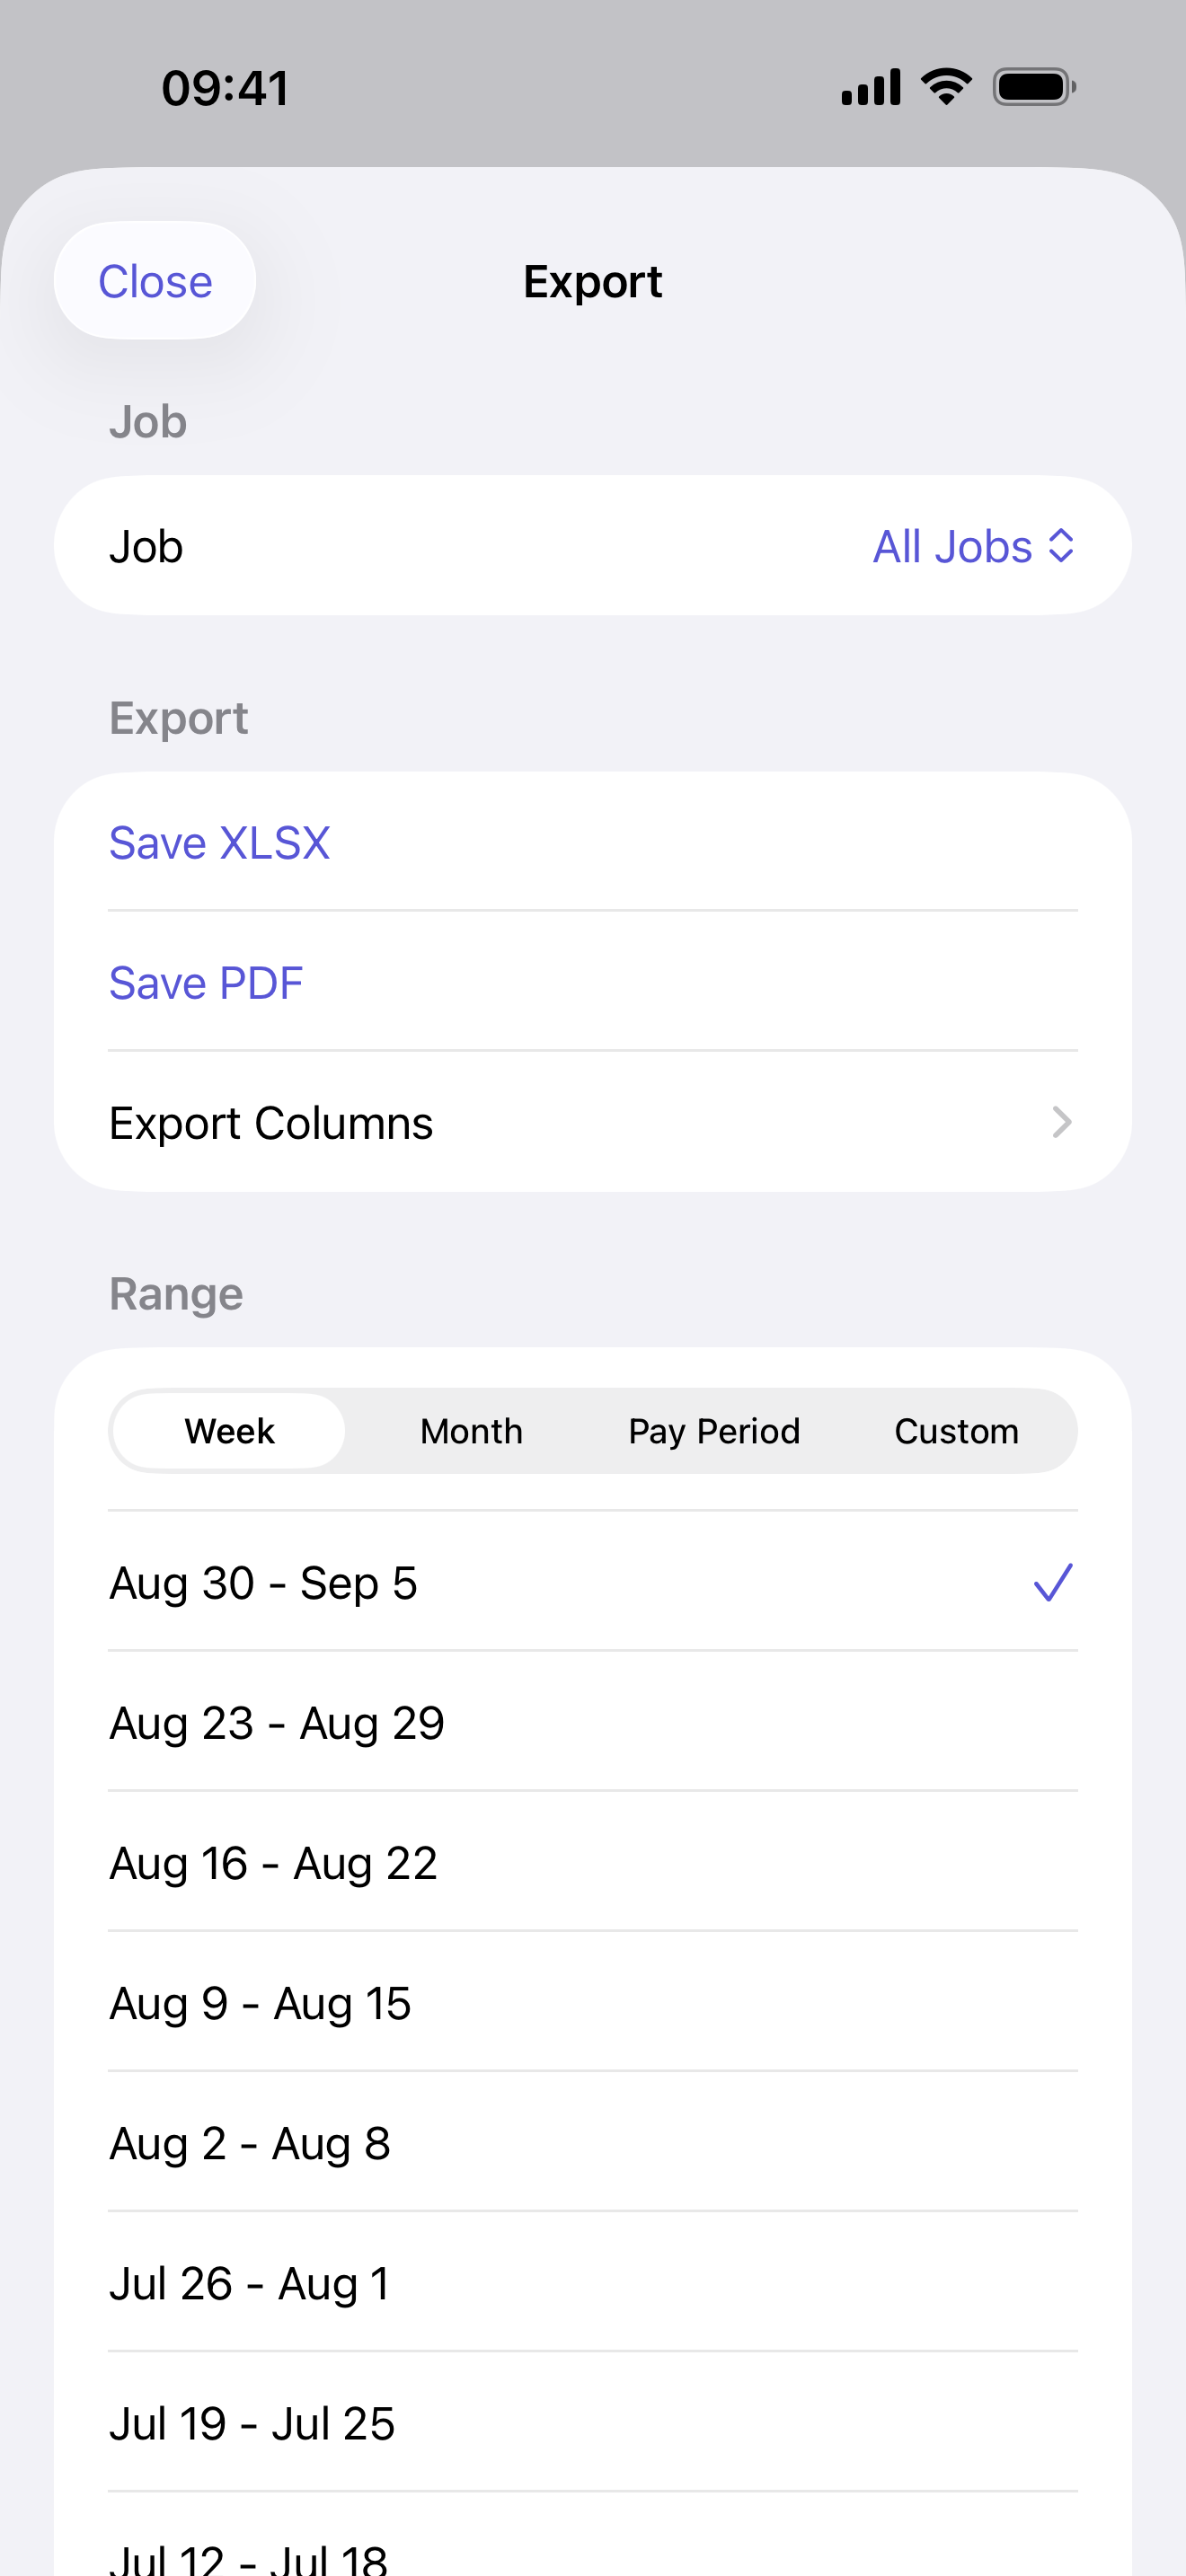
- In Export → Job, select the workplace this report is for. The picker starts on All Jobs.
- Under Range, choose Week and tap the required week. For other dates, use Month, Pay Period or Custom.
- Check the selected range in the Export screen before saving. Do not assume it matches the week you just viewed in Time Sheets.
- Tap Save PDF and use the share sheet to save the file or send it. With Pro, Save XLSX creates an Excel spreadsheet instead.
For a Custom range, set From and To to the first and last dates you need. A job appears in the export picker after it has a saved work entry.
Open the saved report and check its job, dates and hours before submitting it. If your workplace requires its own form, use the report to check the entries you submit there.
If your submission form wants decimal hours
The example’s 22 hours 15 minutes is 22.25 decimal hours: 22 + (15 ÷ 60). It is not 22.15. Use the hours-to-decimal converter to check a number before copying it into another form.
For shifts that end the next morning, follow the overnight-shift walkthrough. For separate reports from two workplaces, see track two jobs in Hours Tracker.